
Kettles
I obtained a couple of used kegs (legally, of course) and converted them to
brewing kettles. Marc already had the mash kettle, so one of mine became the
sparge kettle, and the other the boil kettle. I found some stainless steel
lids at Costco that had about an eleven inch diameter. I cut a hole out of
the top of the kegs with my Dremel. They were not fully converted right
away, so I drilled a hole close to the handle on the sparge kettle so we
could use a racking cane until it was fully converted. Bob at
Bob's Homebrew
Supply did a great job finishing the conversion. He added thermometers
and spigots to both kettles and a false bottom to the boil kettle.
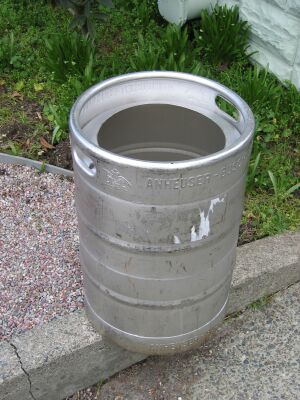
The keg/kettle before final conversion
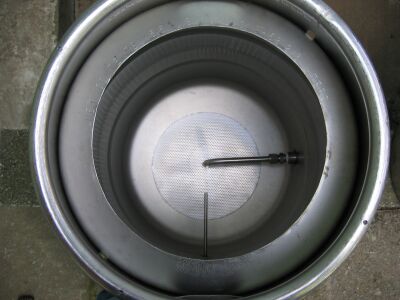
The fully converted boil kettle with false bottom
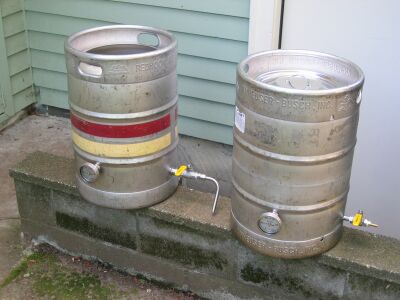
Both fully converted kettles
The boil kettle in action
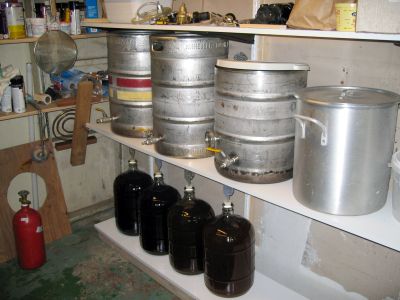
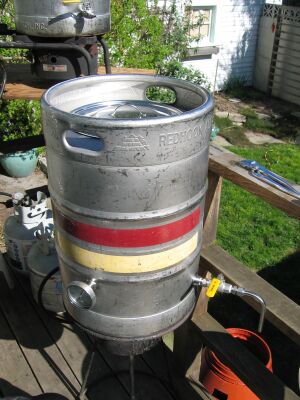
All our kettles waiting for the next brew session.
Three Tier Brew Table
After we had the kettles converted, I started thinking about a brew table.
Sabco makes a great brew table
complete with computer and everything, but it is a bit expensive, so I looked
into building one. I found some photos on the web of some other people who
had built one, and from those I drew up some plans to make one out of steel.
Once I got done with the plans, I mailed them to my dad and he constructed
the table. I found some Bayou
Classic 185,000 BTU high pressure jet cookers at Ace Outlet online for
$35, and decided they would work well for the burners. The burners run on
propane, so my dad added three propane tank hangers onto the brew stand. As
you can see from the images below the burner shoots a flame over a foot high
when there is no kettle on the stand. We brewed our first batch with the
brew table on 02.26.2006. It worked great. It is nice to not have the mash
tun and boil kettle share the same burner. Moving a large pot of hot liquid
up onto a somewhat shaky burner was not fun. Being able to start heating up
the boil kettle before the sparge is over should save us a bit to time too.
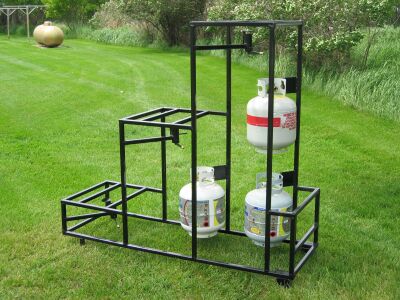
The brew table with tanks (but not regulators)

One of the brew table's burners
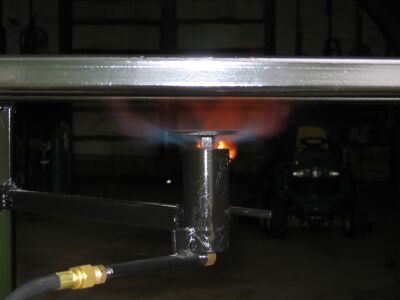
One of the brew table's burners with the flame spreader
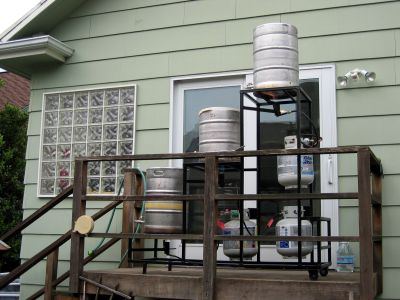
The brew table brewing it's first batch
Spargers
We were using a rather old Phil's sparger that worked okay, but it started to
show signs of old age and would quit spinning, usually on days when it was
raining the hardest. I had some left over copper tubing from making a
racking cane, so I decided to try to make a new sparger. I got the idea from
some other ones I had seen on the web. There are about sixty hand drilled
holes in it (power tools kept breaking the bits). I used a pretty small
drill bit, probably around a thirty-second of an inch. It works pretty well,
it does not disturb the grain bed. The valve on the kettle is used to
control the flow and keep the total sparge time between forty-five minutes
and an hour.
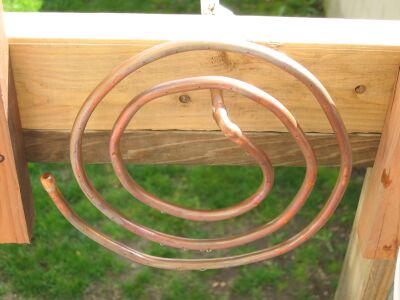
The sparger
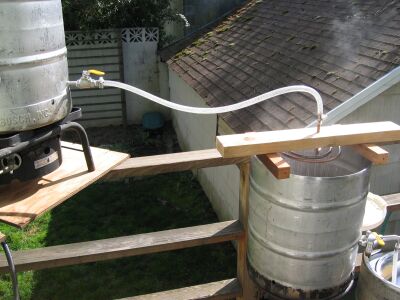
The sparger in action with the converted kettles
The sparger shown above works pretty well, but out conversions have been
dropping off, so I thought I would try another one. In order to get the
sparge water temperature high enough in the mash it needs to be at a fairly
high temperature in the kettle. The water drops 10-20°F from the sparge
kettle to the top of the mash. We figured the long copper tubing was giving
the water a lot of time to cool off, so this sparger is more compact and
closer to the original Phil's sparger we were using. It doesn't rotate, but
it also does not disturb the grain bed. It works a little better, as far as
keeping the sparge water at higher temperature in the grain bed, but our
conversions are still not where we want them.
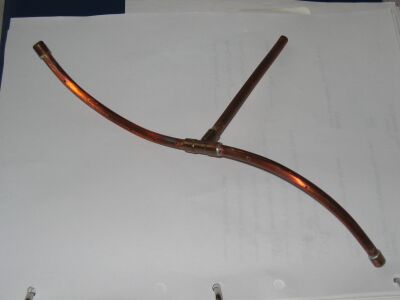
The sparger, version 2
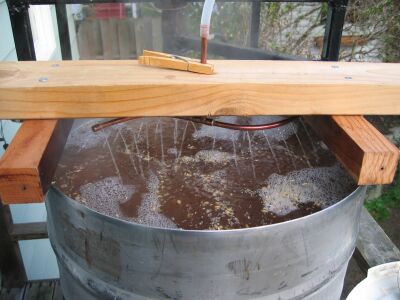
The sparger, version 2, in action with the converted kettles
Wort chiller
When we first started brewing we were using a wort chiller that Marc had made
out of six inch PVC and copper tubing. It got the job done, but it used a
lot of water. I finally broke down and bought Blichmann Engineering's
Therminator and ThruMeter. The wort chiller was pretty expensive, but after
a couple of uses, I would say it is worth it. Our chilling times went from
over an hour to less than fifteen minutes, and the wort ends up at a lower
temperature. We cut the amount of water needed to chill way down, and
probably use about twenty-five gallons or so.
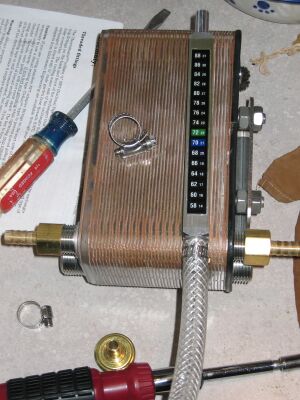
The ThruMeter laying on top of the Therminator
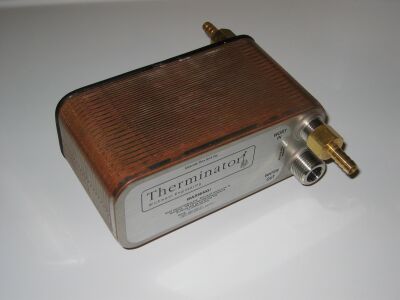
The Therminator